As the winter season draws to a close, and the rainy season is beginning to move in, food and drink are both great ways to reset your mood for spring. Here are four basic recipes, including lighter flavors perfect for the spring season, that you can easily make at home.
Iced Butterfly Tea: Zoe
Want to Follow along? download the recipe here:
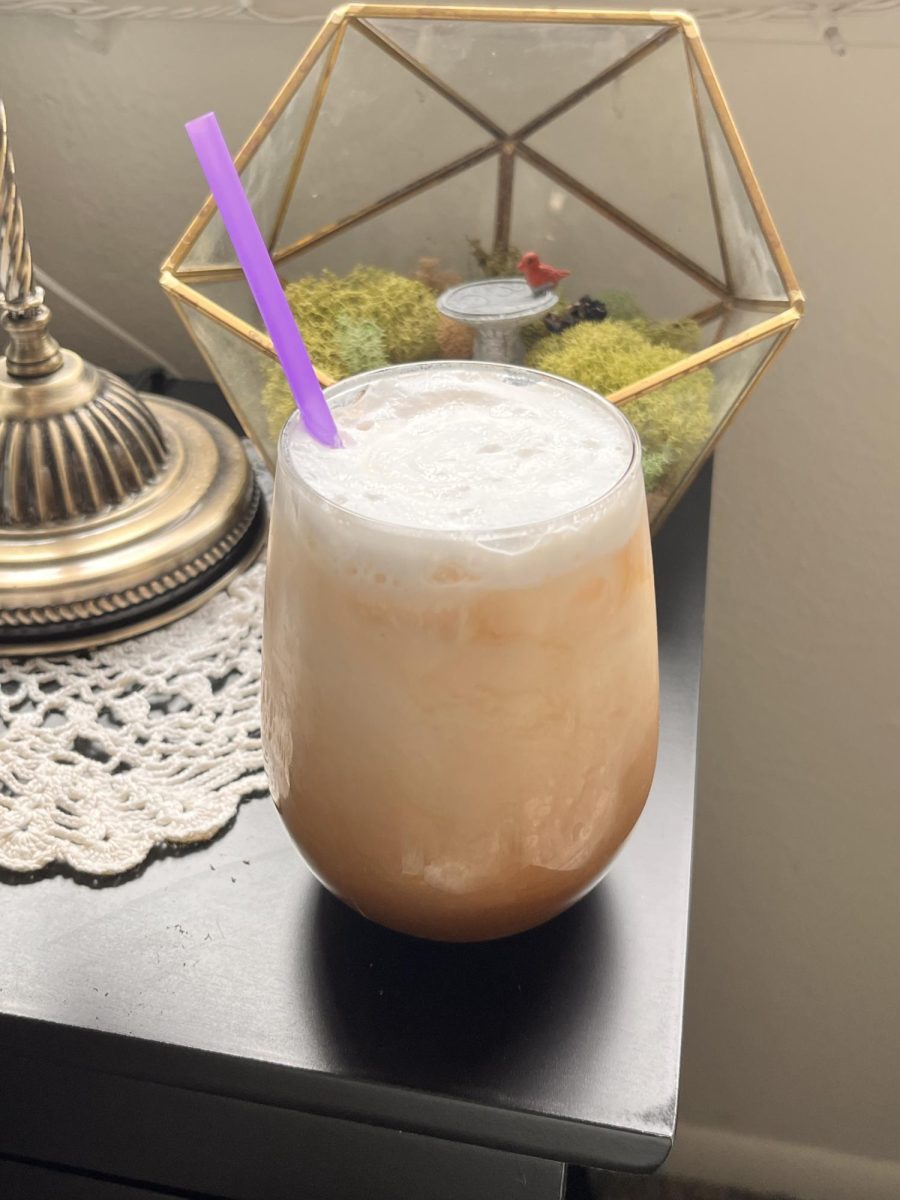
This is possibly the easiest thing you can make out of all of these recipes. Does it require a little more effort to make than a typical cup of tea? Yeah, but it’s not like you’re going to spend two hours making tea, it’s maybe ten minutes max. So, the end result is a super pretty drink for very little effort. And, it tastes as good as it looks! The tea itself has a wonderful, rich flavor and when the flavors are added, the drink ends up having delicious floral notes with a slightly sour after-taste
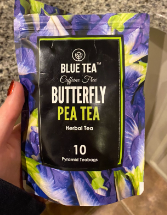
Acquiring the Tea:
This was the easiest part of making the drink. I found a small pouch of tea bags on Amazon for five dollars and can be found here. Even better, they’re Prime, so they come within a day or two.
Brewing the Tea:
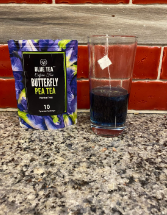
Another pretty basic step: find a measuring cup—or measure with your heart, it’s not that important—and measure out half a cup of water. Now, you can do two things with that water. Either pour it in a mug and throw it into the microwave for a minute or two, or grab a small pot, pour the water into it, and boil it on the stovetop. Both methods work fine, but I recommend boiling the water. After heating your water, take one of your tea bags and let it sit in the water for 5-10 minutes. Then take another half a cup (ish) of cold water and pour it into your glass, along with some ice cubes. Please don’t forget to remove the tea bag before moving on to the next step like I did.
Changing the Color:
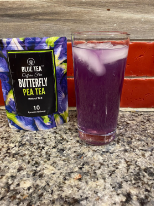
This step is completely optional, but it is a fun little trick. After your tea is done brewing, it should look like this:
The tea has a gorgeous dark blue hue on its own. You may, however, turn it purple or pink just by adding a little lemon juice. The shade of the color will depend on how much lemon juice you put in it, of course, but mine ended up looking very purple as seen in the photo
2.) Banana Bread: Tori
Want to Follow along? download the recipe here:
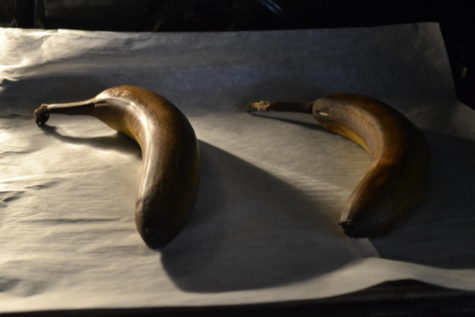
“This recipe I’ve been making since my early 20’s, my ex-husband worked as a deckhand on a tug boat that transported barges’ filled with gasoline and oil on the Great Lakes between Detroit and Chicago and this was the cooks recipe” -Elaine Stroh: Mother of my Uncle
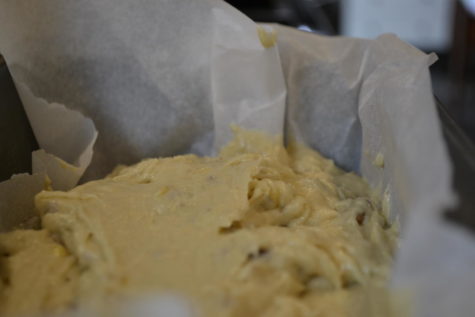
Banana bread has a flavor that almost everyone likes, so it is amazing that it is actually healthier than other baked foods; Since it has mashed bananas as one of the main ingredients. It is far healthier than other sweet baked goods that rely on added sugars for their delicious flavor because the majority of the bread’s sweetness comes from the beneficial sugars naturally contained in bananas.
Why is Banana Bread So Popular?
Banana bread first became well-known during the Great Depression of the 1930s because it uses an ingredient that very few other recipes do: the overripe banana. Bananas were a very popular fruit during the Great Depression because they were inexpensive, delicious, and filling.
Banana bread has recently grown in popularity as a result of the pandemic. Baking has grown in popularity as a result of people looking for more hobbies to perform at home. Like they did in the 1930s, though, people are now seeking ways to recycle food. It’s not always because they can’t afford food; sometimes it’s just harder to leave the house and go to the shop during COVID.
3.) CopyCat Pink Drink: Tori
Want to Follow along? download the recipe here:
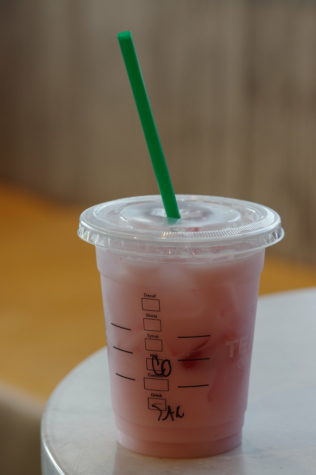
The Pink Drink from Starbucks tastes just like strawberry-flavored cream. The sweetness of the berry taste makes it the perfect beverage for sipping. The mixture of coconut milk and creamy coconut lends a great splash of flavor to the tropical drink.
Why Does Banana Bread and Starbucks Pink Drink Go So Well Together?
Just like Starbucks Pumpkin Bread pairs well with a Pink Drink, so does banana bread! Due to them both being fruit-flavored drinks, the banana flavor from the banana bread and the strawberry flavor from the Pink Drink are two amazing combinations that people should eat and drink together.
4.) Vanilla cupcake with Lavender Berry Frosting: Zoe
Want to Follow along? download the recipe here:
This recipe is probably the most difficult recipe on this list, which is saying a lot about the difficulty scale since it’s still very basic. Vanilla cupcakes are a part of every baker’s staple recipe, and conveniently, cupcakes are also perfect for beginners. The frosting adds a fun little pop of unique flavor
Making the Batter:
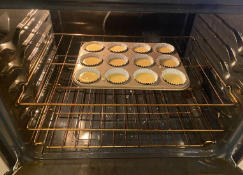
Mixing the batter went smoothly, except it needed a little bit more liquid, so I revised the recipe to include that. It was a fairly simple batter to make, nothing with weird measurements or rare ingredients. The batter should be a little bit thicker than pancake batter, but a little bit of variation when it comes to cupcake batter is perfectly fine. Here’s what your liners/pan should look like when it goes in the oven!
The Baking Process:
This is the fun part. You stick the cupcakes in the oven at 350°F, let them sit for 25 minutes, and you can just relax. When the timer goes off, I highly recommend using the touch test to see if the cupcakes are fully baked. The touch test is when you lightly tap the top of one of the cupcakes; if the cupcake bounces back from your touch, it’s done. If your finger makes an indent and the mark stays there, it could use a few more minutes in the oven. Add time in 2-5 minute increments, using the touch test between each round. After you’re sure that your cupcakes are baked all the way through, set them aside, but keep them in the pan for now.
Making the Frosting:
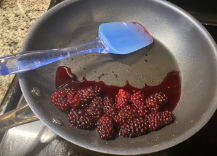
Now, my personal favorite part. Frosting is the place where you can generally experiment the most with flavor. In this case, I made a lavender and blackberry frosting, which was surprisingly more effortful than making the actual cupcakes. When making this particular frosting, you should start by making a berry compote to flavor your frosting later. It may seem redundant to make the flavoring before your frosting, but it saves time later in the process
My compote turned out beautifully; thankfully I didn’t burn anything. After making your compote, start on the base of the frosting. The base consists of powdered sugar and softened butter. Put the softened butter into a bowl and mix it with a whisk, hand mixer or stand mixer. Once the butter is all creamy dump in powdered sugar until your heart’s content. If it is too sweet add a little salt. If too runny add in more powdered sugar and if too stiff add a little milk. When that is completed and your frosting is fluffy and thick, you can add your flavoring elements. In this case, this would be our berry compote and lavender syrup.
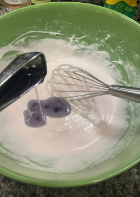
Unfortunately, when I tried to make the main component of the frosting it didn’t work, and I added half a bag of powdered sugar and it still didn’t thicken. But that’s okay because it ended up tasting really good, so I ended up refrigerating the frosting and it ended up being a glaze texture.
Fun tip:
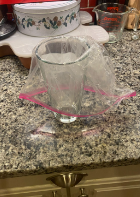
I personally don’t like buying a ton of piping bags. So, if you want to frost your cupcakes the “fancy way,” but don’t have piping bags, look no further. Grab a plastic zip-lock bag. Stick that thing in a cup, and flip the edges of the bag over the rim of the cup. It should look like this:
Pour/scrape your frosting into the cup, then pull the bag off of the cup. Push all of the frosting into one corner of the bag, and then snip off the corner. Voila! A makeshift piping bag.
After the recent freeze, recipes like these ones are a perfect pick-me-up as you eagerly await Spring. And, especially with the end of the trimester coming around, I think we all deserve a little treat after finals! Enjoy your baking.


